Welcome to a helpful guide on repairing worn crates! If you’ve noticed your crates starting to show signs of wear and tear, don’t worry – there are simple and effective tips you can follow to restore them to their former glory. From reinforcing weak spots to repainting and sealing, we’ll walk you through the steps to ensure your crates are sturdy and looking good as new. Let’s get started on giving your crates a much-needed makeover!
Effective Tips for Repairing Worn Crates
Have you ever found yourself in a situation where you have a worn or damaged crate that needs repairing? Whether you use crates for storage, shipping, or organization, it’s not uncommon for them to start showing signs of wear and tear over time. But don’t worry, with the right tools and techniques, you can easily repair your worn crates and give them a new lease on life. In this article, we will provide you with some effective tips for repairing worn crates so that you can continue to use them for years to come.

This image is property of images.unsplash.com.
Assess the Damage
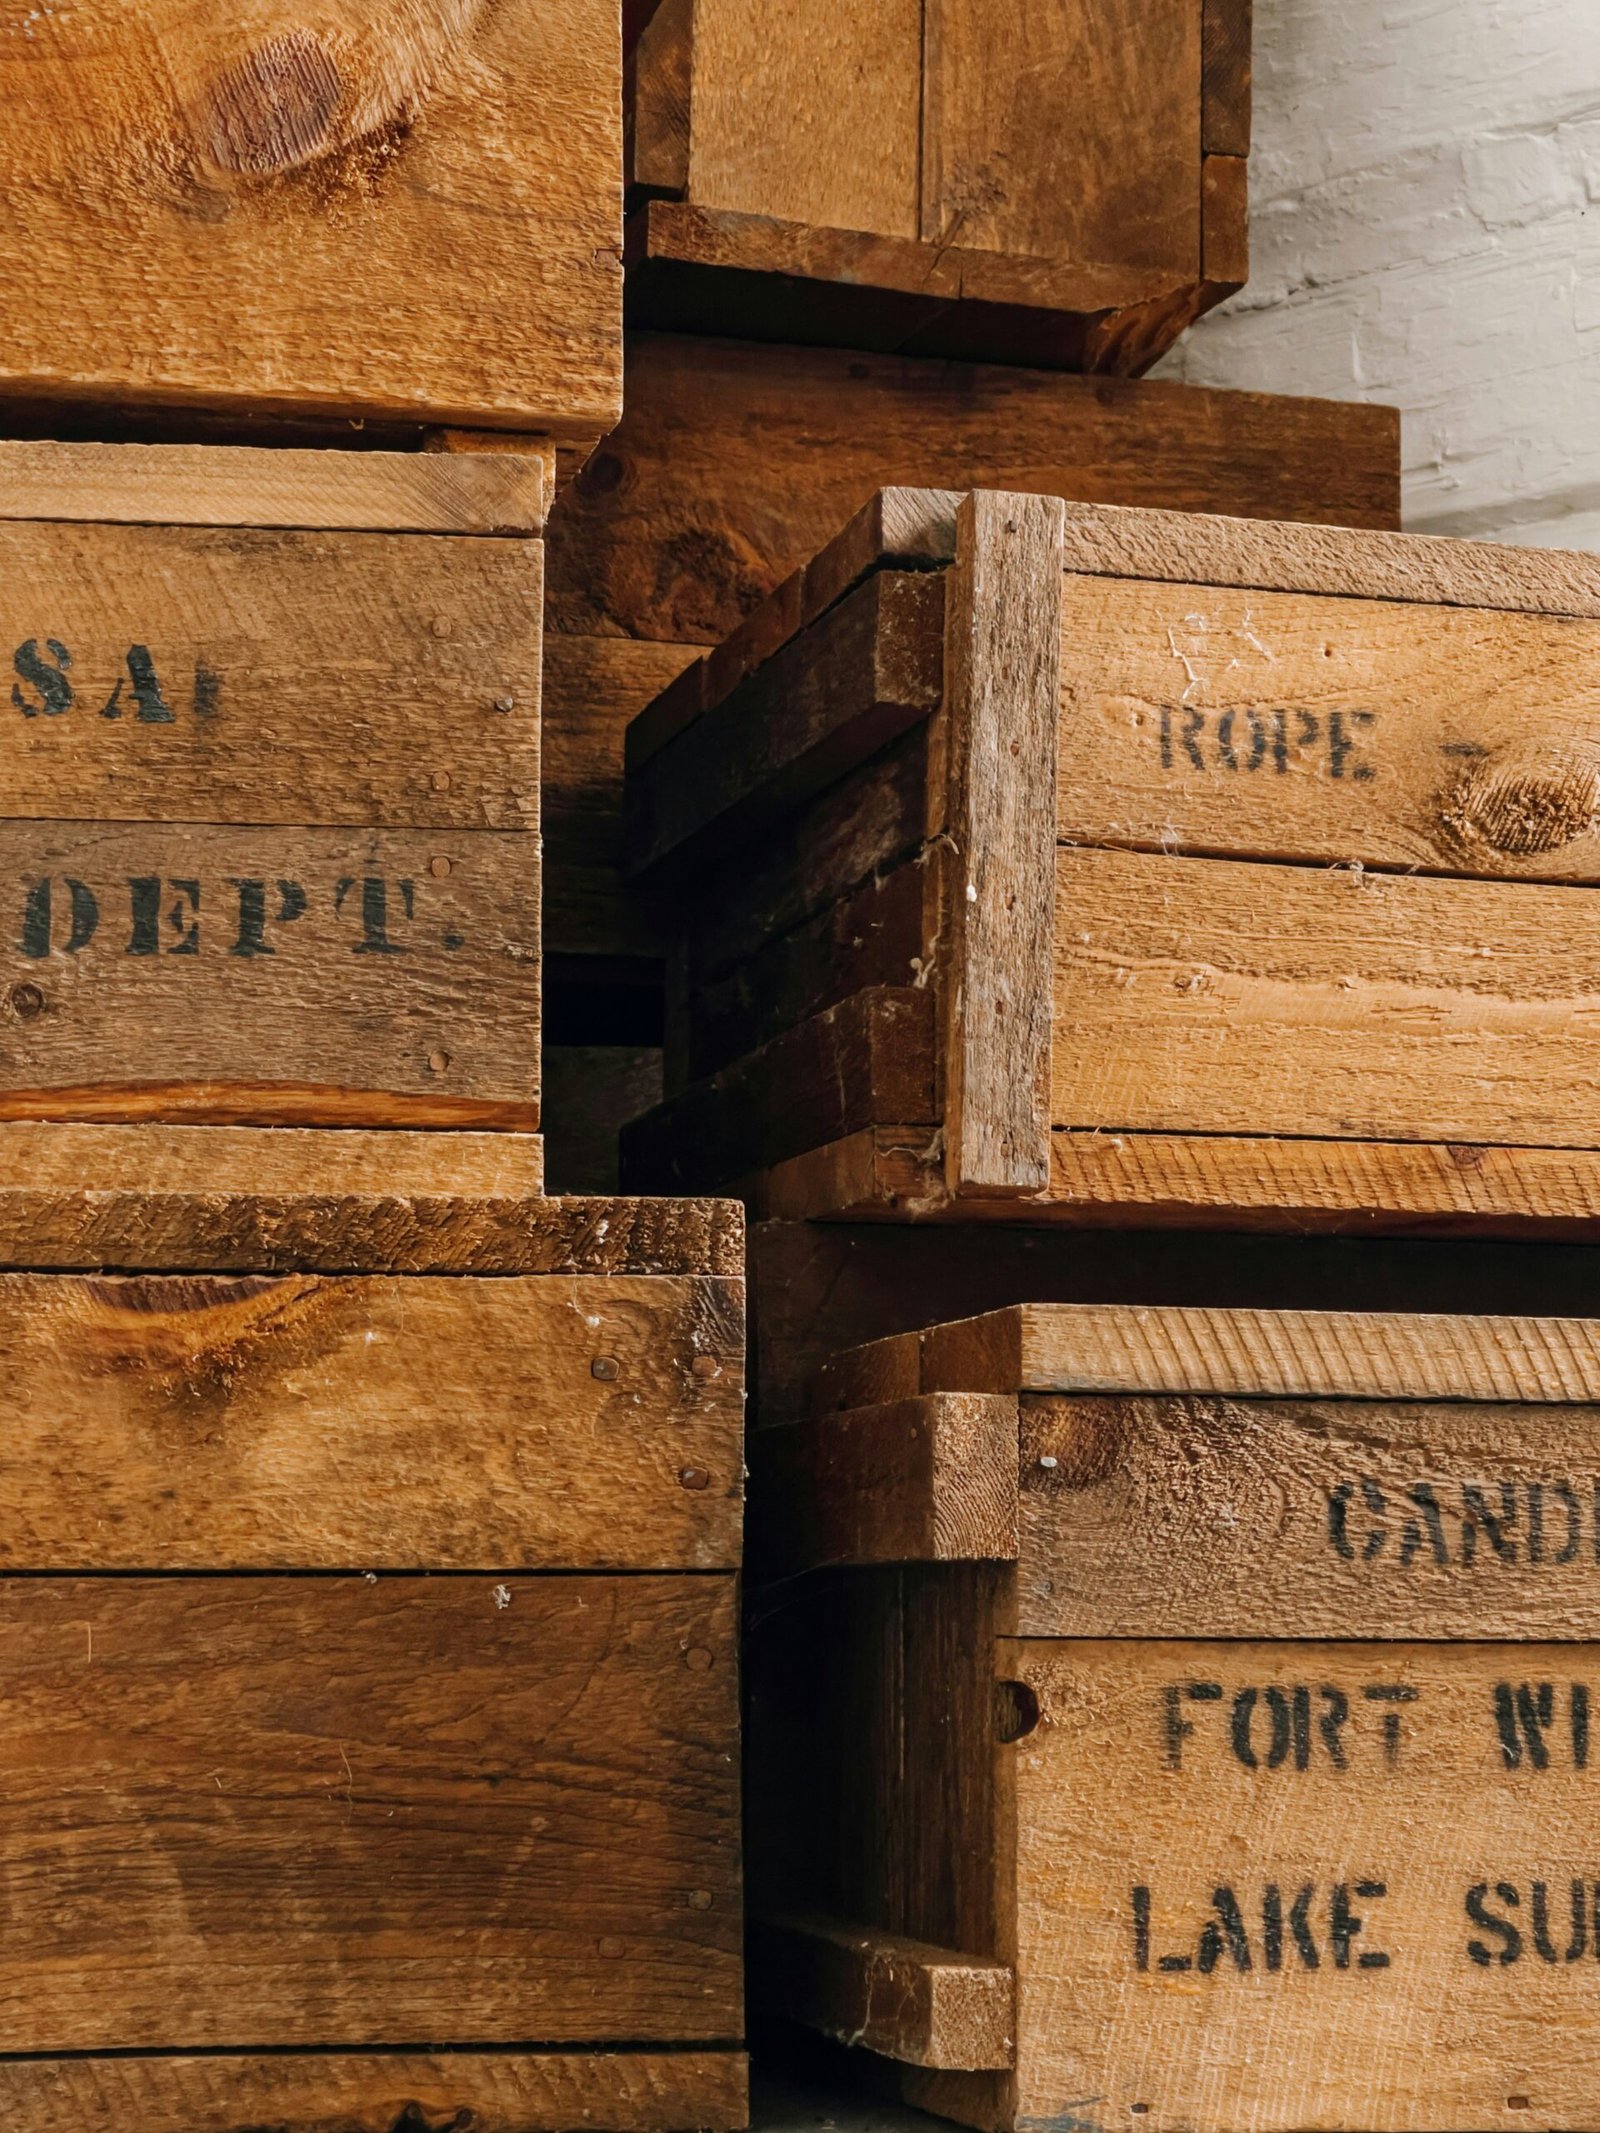
Before you begin repairing a worn crate, it’s essential to assess the extent of the damage. Take a close look at the crate and identify any broken or weakened areas. Is there any hardware missing or damaged? Are there cracks or splinters in the wood? By thoroughly examining the crate, you can determine the best course of action for repairing it effectively.
When assessing the damage of the crate, make sure to check all sides and corners as well. Sometimes, damage might not be immediately visible, so it’s crucial to inspect every part of the crate to ensure nothing is missed.
Gather the Necessary Tools and Materials
Once you’ve identified the areas that need repair, gather all the tools and materials you’ll need to fix the crate. This may include:
- Wood glue
- Clamps
- Sandpaper
- Wood filler
- Replacement hardware (such as screws or nails)
- Paint or wood stain (if desired)
Having all the necessary tools and materials on hand will make the repair process much smoother and efficient. If you’re missing any items, make a trip to your local hardware store to stock up on everything you need before getting started.
Repairing Cracks and Splinters
Cracks and splinters are common issues with worn crates, but they can be easily repaired with the right techniques. Start by applying wood glue to the cracked or splintered areas and using clamps to hold the pieces together while the glue dries. Once the glue has set, sand down any rough edges with sandpaper to restore a smooth surface.
For larger cracks or holes, consider using wood filler to fill in the damaged areas. Once the wood filler has dried, sand down the surface to create an even finish. This will not only repair the damage but also prevent it from worsening over time.
Replacing Hardware
If the hardware on your crate is damaged or missing, it’s important to replace it to ensure the crate remains sturdy and functional. Gather replacement screws, nails, or other hardware that matches the original pieces and carefully install them in the appropriate locations. Make sure to tighten the hardware securely to prevent any future issues.
When replacing hardware, consider upgrading to more durable or corrosion-resistant options for a longer-lasting repair. Stainless steel screws, for example, are a great choice for outdoor crates that may be exposed to the elements.

This image is property of images.unsplash.com.
Reinforcing Weak Joints
Weak joints in a crate can compromise its structural integrity, leading to further damage if not addressed promptly. To reinforce weak joints, apply wood glue to the areas where the pieces meet and use clamps to hold them together while the glue sets. You can also add additional screws or nails to strengthen the connection and prevent the joint from coming apart in the future.
Reinforcing weak joints is essential for preventing the crate from collapsing or breaking under the weight of its contents. By taking the time to strengthen these areas, you can extend the lifespan of the crate and ensure it remains functional for years to come.
Painting or Staining for a Fresh Look
Once you’ve completed all necessary repairs, consider giving your worn crate a fresh coat of paint or stain to rejuvenate its appearance. Choose a color that complements your decor or style preferences and apply it evenly to the surface of the crate. This not only improves the aesthetic appeal of the crate but also adds a protective layer that can help prevent future damage.
Painting or staining your crate is a great way to personalize it and make it uniquely yours. Whether you opt for a bold color or a natural wood finish, this finishing touch can make your repaired crate look brand new and ready for continued use.

This image is property of images.unsplash.com.
Conclusion
Repairing worn crates doesn’t have to be a daunting task. With the right tools, materials, and techniques, you can easily restore your damaged crates to their former glory and continue to use them for various purposes. By assessing the damage, gathering necessary supplies, and following the tips outlined in this article, you can prolong the lifespan of your crates and keep them in top condition. So don’t let worn crates go to waste – roll up your sleeves, grab your tools, and get to work repairing them today. Your crates will thank you for it!