Welcome to a world of creativity and resourcefulness! In this article, we will explore DIY solutions for restoring old crates, turning them from dusty relics into charming pieces of decor or useful storage units. Whether you have a vintage apple crate from a flea market or an old wine crate passed down through generations, we have simple and affordable ideas to help you breathe new life into these forgotten treasures. Get ready to roll up your sleeves and transform those old crates into something truly special! Have you ever come across old or antique wooden crates that are in need of some TLC?

This image is property of images.unsplash.com.
Restoring Old Crates Can Be a Fun and Rewarding DIY Project
Restoring old wooden crates can not only give them a new lease on life but also add a touch of rustic charm to your home or workspace. Whether you found them in a thrift shop, flea market, or in your own attic, bringing old crates back to their former glory is a satisfying and budget-friendly way to upcycle and repurpose. In this article, we will explore some simple yet effective DIY solutions for restoring old or antique crates.
Assessing the Condition of Your Old Crate
Before embarking on the restoration process, it is essential to assess the condition of your old crate. Look for signs of damage such as cracks, splinters, mold, or mildew. Check the structural integrity of the crate to ensure it can still be used safely after restoration. If the damage is severe, consider whether the crate is salvageable or if it would be better suited for decorative purposes only.
Cleaning and Removing Dirt and Grime
The first step in restoring an old crate is giving it a thorough cleaning to remove any built-up dirt and grime. Start by gently dusting off the surface with a soft brush or cloth to loosen the dirt. You can then use a mild soap solution and a soft-bristled brush to scrub away stubborn stains and grime.
Once the crate is clean, rinse it thoroughly with clean water and allow it to dry completely before moving on to the next step. Avoid using harsh chemicals or abrasive cleaners, as they can damage the wood and remove the crate’s natural patina.
Repairing Cracks and Splinters
If your old crate has cracks or splinters, it is essential to repair them before moving on to the next steps of restoration. Start by gently sanding the affected areas to smooth out any rough edges and prepare the surface for repair.
For small cracks and splinters, you can use wood filler or putty to fill in the damaged areas. Apply the filler with a putty knife, making sure to smooth it out evenly across the surface. Allow the filler to dry completely before sanding it down to create a seamless finish. For larger cracks or areas of significant damage, you may need to consider more extensive repairs or replacement of the damaged wood.
Sanding and Smoothing the Surface
Once the repairs are complete, it is time to sand and smooth the surface of the crate to prepare it for refinishing. Start by using a medium-grit sandpaper to remove any rough spots, imperfections, or leftover filler from the repair process.
Next, switch to a fine-grit sandpaper to smooth out the entire surface of the crate and create a uniform texture. Be sure to sand with the grain of the wood to avoid causing any further damage or scratches. Take your time with this step to achieve a smooth and even finish that will be ready for staining or painting.

This image is property of images.unsplash.com.
Staining or Painting Your Restored Crate
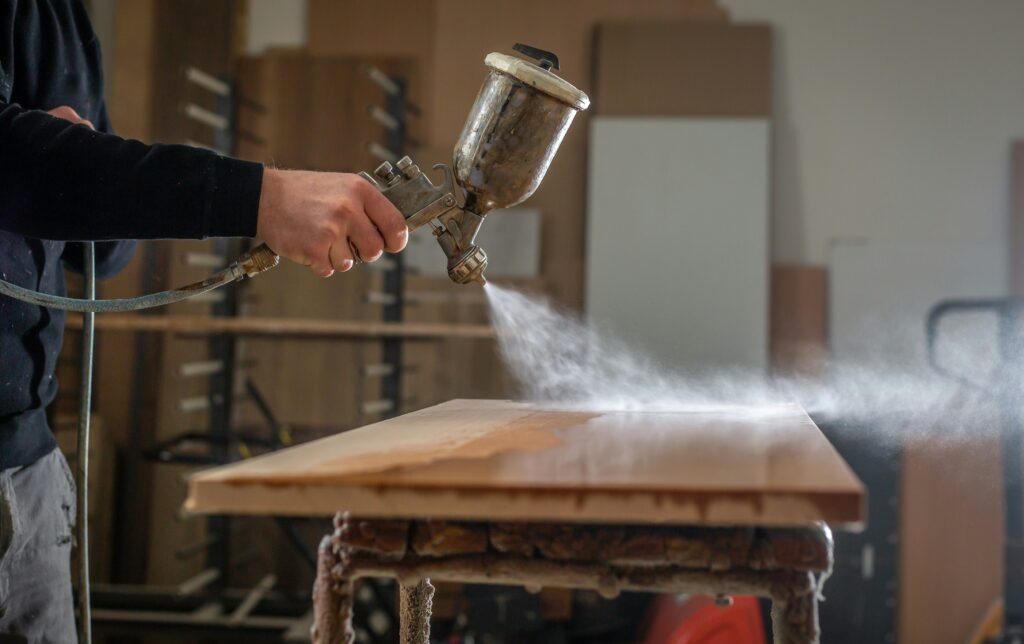
One of the most rewarding parts of restoring an old crate is choosing a finish that will enhance its natural beauty and character. Whether you prefer a rustic stain or a pop of color, there are endless possibilities for customizing your restored crate to suit your style and decor.
If you choose to stain your restored crate, be sure to select a stain that is compatible with the type of wood used in the crate. Apply the stain with a brush or cloth, following the manufacturer’s instructions for best results. Allow the stain to dry completely before applying a clear sealant to protect the finish and enhance the wood’s natural beauty.
For those who prefer a painted finish, choose a high-quality paint that is suitable for use on wood surfaces. Apply the paint in thin, even coats, allowing each layer to dry completely before adding another. Consider adding decorative accents or stenciling to create a one-of-a-kind look that reflects your personal style.
Adding Hardware and Handles
To complete the restoration of your old crate, consider adding new hardware or handles to enhance its functionality and aesthetic appeal. Whether you choose rustic iron hinges or sleek modern handles, selecting the right hardware can elevate the look of your crate and make it more versatile for use in your home or workspace.
When adding hardware, be sure to measure and mark the placement of screws or nails before attaching them to the crate. Use a drill or screwdriver to securely fasten the hardware in place, taking care not to split the wood or damage the structure of the crate. Once the hardware is attached, step back and admire your handiwork as your restored crate transforms into a functional and stylish piece of decor.

This image is property of images.unsplash.com.
Displaying and Enjoying Your Restored Crate
After completing the restoration process, it is time to find the perfect spot to display and enjoy your newly restored crate. Whether you use it for storage, as a decorative accent, or as a unique piece of furniture, your old crate will add a touch of vintage charm to any space.
Try using your restored crate as a bookshelf, plant stand, or storage solution in your home office, living room, or kitchen. You can also use it as a display shelf for showcasing vintage collectibles, family photos, or potted plants. Get creative with how you incorporate your restored crate into your decor and enjoy the sense of accomplishment that comes with breathing new life into an old piece of history.
In conclusion, restoring old or antique crates is a fun and rewarding DIY project that allows you to unleash your creativity and create a unique piece of decor. By following the simple yet effective solutions outlined in this article, you can bring new life to old crates and transform them into functional and stylish additions to your home or workspace. So why wait? Start your crate restoration project today and enjoy the satisfaction of preserving a piece of history while adding your own personal touch.
